Filter
from $16.00
- Unit price
- / per
Upload Your Own Gang Sheet
from $16.00
- Unit price
- / per

from $16.00
- Unit price
- / per
Build Your Own Gang Sheet (Sublimation)
from $16.00
- Unit price
- / per
You're viewing 1-2 of 2 products
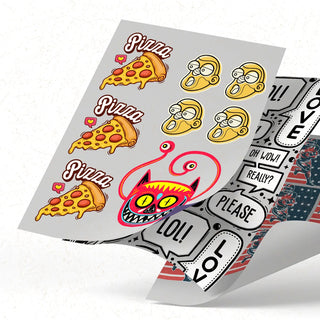
Your Source for Custom Direct to Film Transfers
When creating custom t-shirts, stickers, or other products for giveaways or sales, it’s important to have high-quality printing solutions that promise long-lasting results that impress the recipient. At EazyDTF, we’re your source for custom DTF transfers, ready to press. Whether you’re creating t-shirts for a concert or special event or requiring stickers to give away at the next trade show, we offer the custom solutions you need. It doesn’t matter if you have a design in mind or need assistance from our talented designers, we promise fast, reliable results that will leave the best impression on customers and prospects.
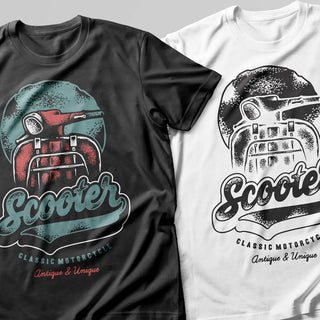
Create Your Custom Designs
EazyDTF is your top choice for DTF custom prints and DTF custom transfers designed just for you. We offer various options to ensure you can create a design that reflects your branding and message and stands out from the crowd. Whether you want basic custom direct to film transfers or prefer to make your products stand out with sublimation or holographic designs, you can count on our experienced team to produce your designs with a flair for creativity. Our custom DTF transfers outshine the competition.
Start Your Project Today!
Whether you have a vision for your design or need expert assistance, you can trust the professionals at EazyDTF to produce quality results that reflect your business or other purposes. Our custom DTF transfers will ensure you that we produce quality products that last. Contact us today to start working on your customized designs.